 Español
  pусский
  Français
  Português
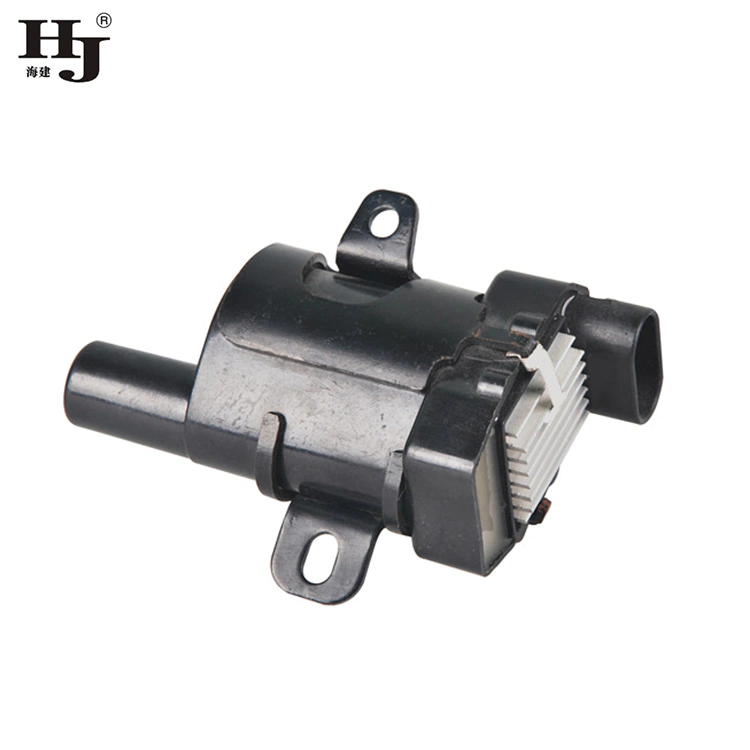

Better Touch Better Business
Contact Sales at Haiyan.
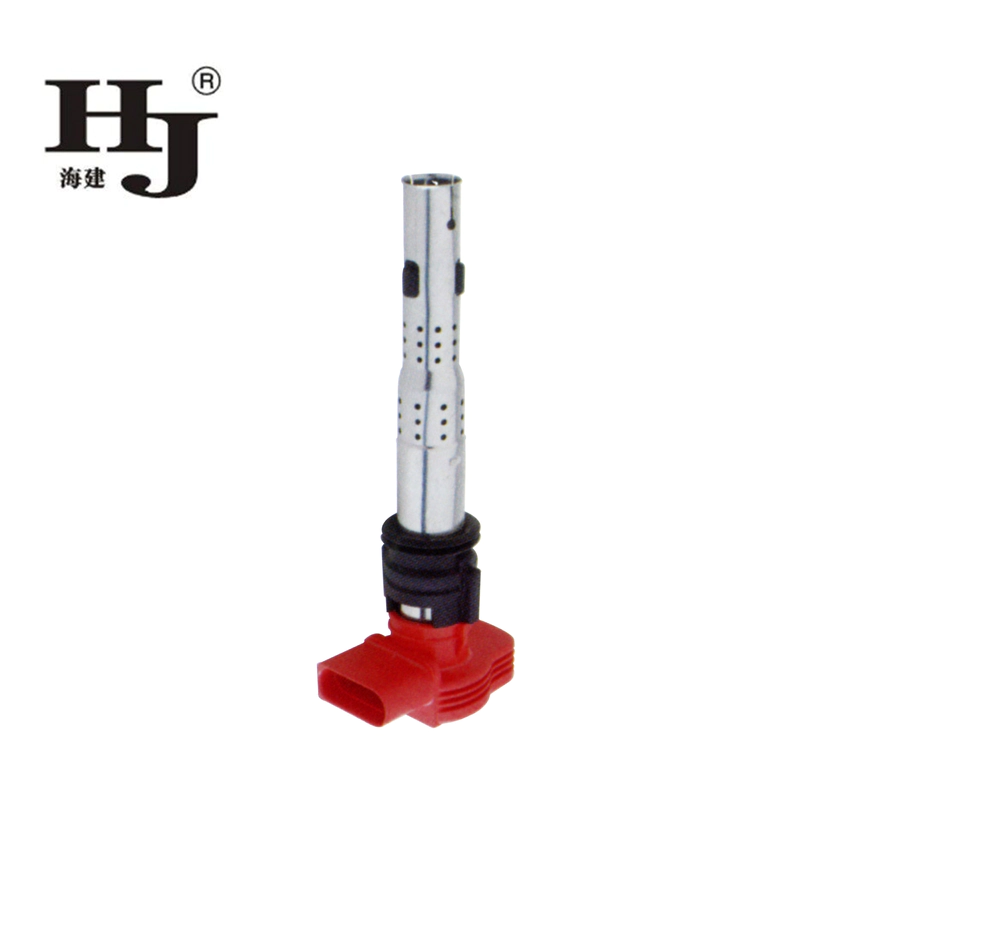
Replacing Your Car's Ignition Coils with Oil Filled Ones
Introduction:
Modern automobiles are equipped with sophisticated ignition systems designed to efficiently ignite the air-fuel mixture in the engine cylinders. Ignition coils are crucial components of this system, responsible for providing the necessary voltage to spark the spark plugs. Traditional ignition coils have served us well over the years, but advancements in technology have brought forth a new alternative – oil filled ignition coils.
In this step-by-step guide, we will explore the process of replacing your car's ignition coils with oil filled ones. We will delve into the benefits of using oil filled coils, the tools you will need, and the specific steps involved in this upgrade.
Benefits of Oil Filled Ignition Coils:
1. Enhanced Heat Dissipation:
One of the primary advantages of oil filled ignition coils is their superior heat dissipation capabilities. The oil inside the coil helps in absorbing and transferring heat away from the coil, preventing overheating. This feature ensures that the ignition coils are able to maintain optimal performance under extreme conditions, thereby increasing their lifespan.
2. Reduced Voltage Loss:
Oil filled ignition coils have lower resistance compared to their traditional counterparts. This causes less voltage loss during the ignition process, enabling a more efficient spark plug operation. The improved voltage delivery leads to enhanced fuel combustion, resulting in increased engine power and better fuel efficiency.
3. Enhanced Durability:
By using oil as a medium to cool the ignition coils, the internal components undergo less stress and are better protected from wear and tear. The prolonged lifespan of oil filled coils ultimately reduces maintenance costs and ensures a more reliable ignition system.
4. Reduced Radio Frequency Interference (RFI):
Traditional ignition coils are notorious for generating electromagnetic interference that can affect nearby electronic components. Oil filled coils, on the other hand, can significantly reduce this interference, and as a result, minimize radio frequency interference (RFI). This is particularly beneficial for modern vehicles equipped with intricate electronic systems.
5. Easy Installation:
Installing oil filled ignition coils is a relatively straightforward task that can be accomplished by most car owners with basic mechanical skills. With the right tools and a step-by-step guide, this upgrade can be completed in no time, saving you both time and money.
Tools Required:
Before embarking on this replacement process, ensure you have the following tools ready:
1. Ratchet and socket set
2. Screwdrivers (flathead and Phillips)
3. Pliers
4. Allen wrench set
5. Dielectric grease
6. Shop rags
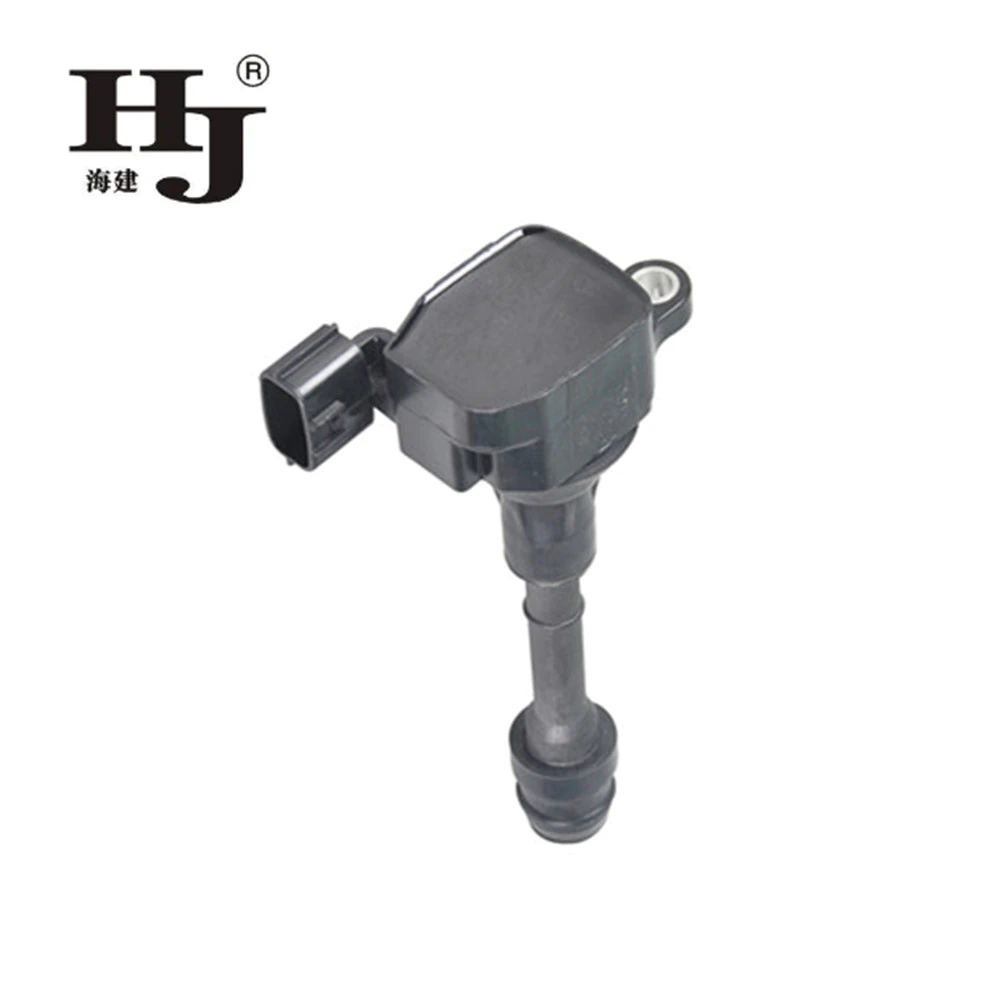
7. Oil-filled ignition coils (Make sure to purchase the correct ones for your specific vehicle make and model.)
Step 1: Safety First
Always prioritize safety when working on your vehicle. Park your car in a well-ventilated area, away from any flammable materials. Engage the parking brake and turn off the engine. Allow the engine to cool down before initiating any work.
Step 2: Locate and Disconnect the Old Ignition Coils
Open the hood of your vehicle and identify the location of the ignition coils. They are typically situated on top of the engine, with each coil connected to a spark plug. Gently disconnect the electrical connector attached to each coil, making sure not to pull on the wires themselves.
Step 3: Remove the Old Coils
Using the appropriate socket size, carefully remove the bolts securing each ignition coil in place. Once the bolts are removed, pull the old coils straight up, ensuring a firm grip to prevent them from dropping into the engine bay.
Step 4: Prepare the Oil Filled Coils
Retrieve your new oil filled ignition coils from their packaging. Apply a small amount of dielectric grease to the rubber boot of each coil. This grease will help create a moisture-resistant seal and ease future removal if necessary.
Step 5: Install the Oil Filled Coils
Position the oil filled coils into their designated slots on the engine. Push down firmly until you hear a click, ensuring they are securely seated. Insert and tighten the bolts to secure the coils in place. Be careful not to over-tighten, as this can damage the coils.
Step 6: Reconnect the Electrical Connectors
Reattach the electrical connectors to the new ignition coils. Ensure a snug fit by pushing them all the way in. A gentle tug should confirm their proper connection.
Step 7: Final Checks
Inspect the surrounding area for any loose tools or debris. Double-check that all electrical connectors are securely attached and that no wires are damaged. Wipe any oil or grease spills, ensuring a clean and tidy workspace.
Conclusion:
Replacing your car's ignition coils with oil filled ones can bring numerous benefits, including enhanced heat dissipation, reduced voltage loss, enhanced durability, reduced RFI, and an easy installation process. With this step-by-step guide and the right tools, you can confidently upgrade your ignition system, resulting in improved engine performance and longevity. Remember to always adhere to safety precautions and consult your vehicle's manual if you encounter any difficulties. Enjoy the benefits of your newly upgraded ignition system and hit the road with confidence!
Copyright © 2019 Haiyan aijian Co.Ltd. | All Rights Reserved
Hello, please leave your name and email here before chat online so that we won't miss your message and contact you smoothly.