 Español
  pусский
  Français
  Português
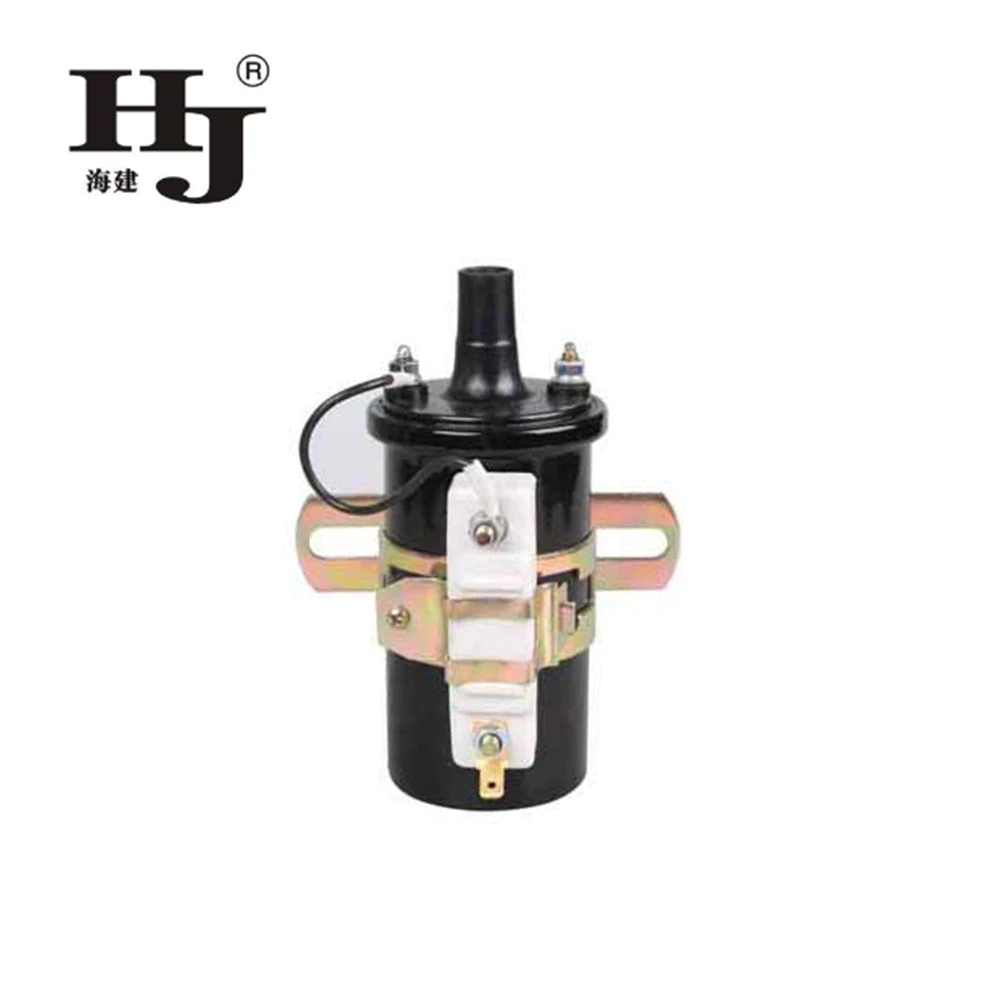

Better Touch Better Business
Contact Sales at Haiyan.
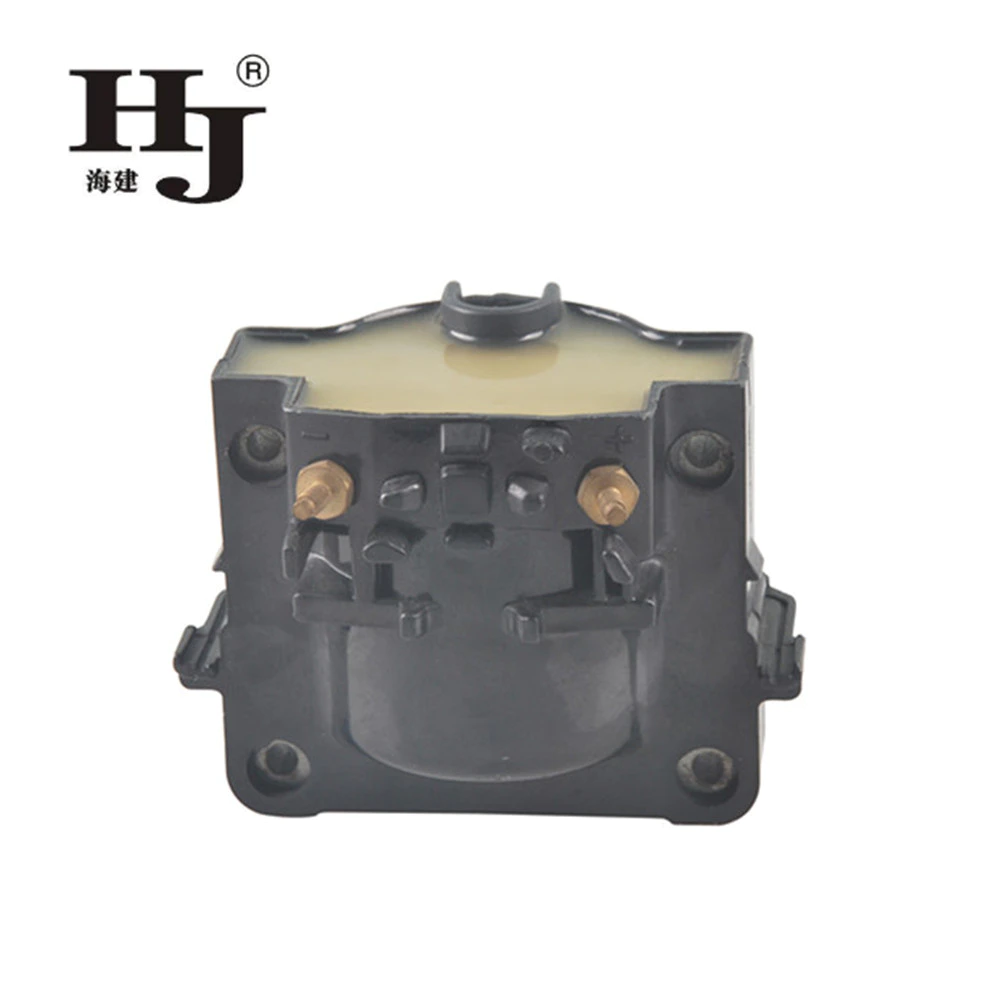
Step-by-Step Guide to Replacing an Oil Filled Ignition Coil in Your Vehicle
Introduction:
Replacing an oil-filled ignition coil in your vehicle is an important maintenance task that ensures smooth engine performance and prevents potential issues. This step-by-step guide will walk you through the process, helping you understand the importance of the ignition coil and providing detailed instructions to ensure a successful replacement.
Understanding the Ignition Coil:
The ignition coil is a crucial component in your vehicle's ignition system. Its primary function is to convert the low-voltage electricity from the battery into the high-voltage electricity needed to ignite the fuel-air mixture in the engine cylinders. Without a functioning ignition coil, your engine may misfire, have decreased performance, or even fail to start.
Diagnosing a Faulty Ignition Coil
Before you proceed with replacing the oil-filled ignition coil in your vehicle, it is essential to diagnose whether it is indeed the culprit for your engine troubles. Here are a few signs that may indicate a faulty ignition coil:
1.1 Engine Misfires: If you experience frequent and noticeable engine misfires, accompanied by rough idling or hesitation during acceleration, it could be due to a failing ignition coil.
1.2 Difficulty Starting the Engine: A faulty ignition coil can make it difficult to start your vehicle. If you notice prolonged cranking or the engine fails to start altogether, it might be time for a replacement.
1.3 Decreased Fuel Efficiency: A defective ignition coil can lead to a decrease in fuel efficiency. If you find yourself visiting the gas station more often than usual, it could be due to a faulty coil.
1.4 Illuminated Check Engine Light: Many modern vehicles have an onboard diagnostic system that detects faulty ignition coils. If your check engine light illuminates, it's worth checking the ignition coil.
Gathering the Necessary Tools and Parts
Once you have confirmed a faulty ignition coil, it's time to gather the tools and replacement parts needed for the replacement process. Here's a list of essentials you will need:
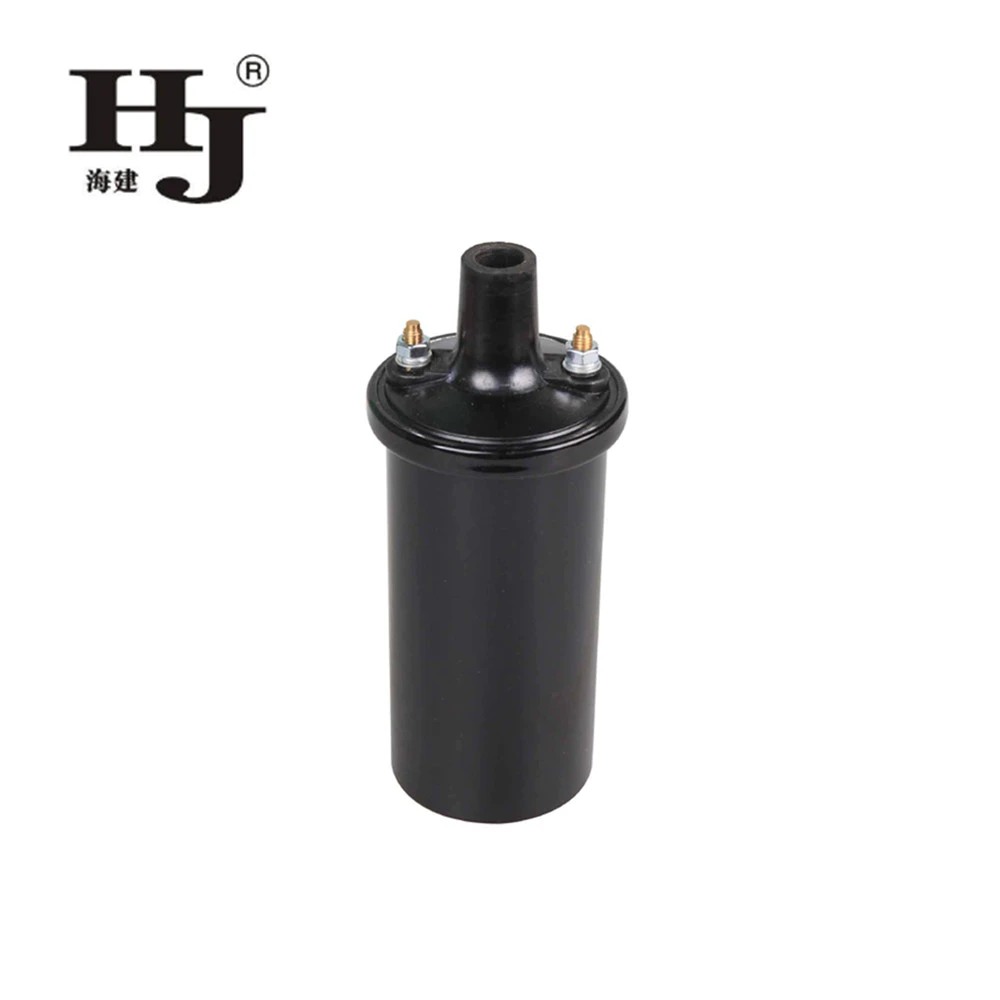
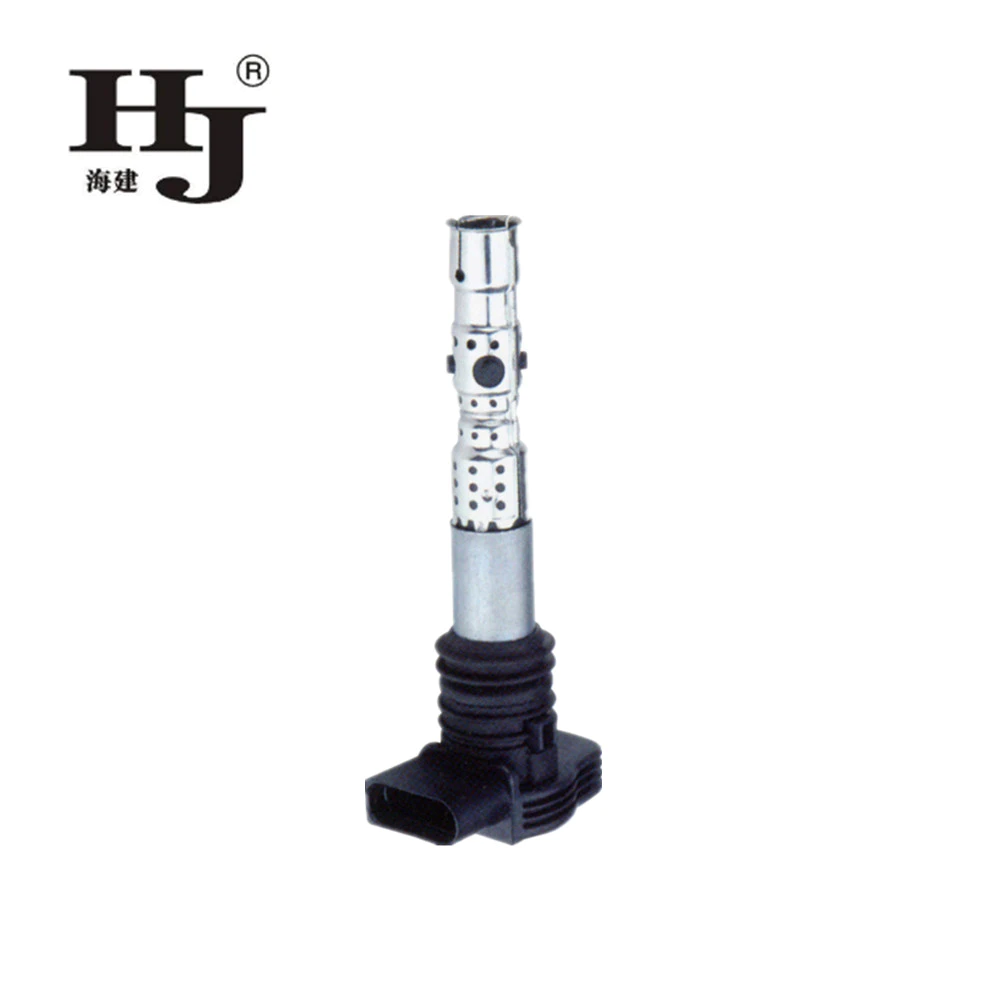
2.1 New Ignition Coil: Make sure to purchase the correct replacement ignition coil for your vehicle's make, model, and engine specifications. Check your vehicle's manual or consult a professional if you're unsure.
2.2 Socket Set: A socket set with various sizes will be required to remove and install components during the replacement process.
2.3 Pliers: These will come in handy when detaching electrical connectors and securing small components.
2.4 Screwdrivers: Different types of screwdrivers, such as flathead and Phillips, will be needed to remove screws and fasteners.
2.5 Safety Equipment: Don't forget safety goggles and gloves to protect yourself during the replacement process.
Replacing the Oil-Filled Ignition Coil
Now that you have everything ready, it's time to replace the faulty oil-filled ignition coil in your vehicle. Follow the steps below carefully for a successful replacement:
3.1 Prepare Your Vehicle: Ensure your vehicle is parked on a level surface, with the engine turned off and the ignition key removed. Pop the hood to access the engine compartment.
3.2 Locate the Ignition Coil: Depending on your vehicle, the ignition coil may be found on or near the engine block. Consult your vehicle's manual if necessary.
3.3 Disconnect the Electrical Connectors: Using pliers, carefully detach the electrical connectors attached to the ignition coil. Take note of their positions, as you will need to reconnect them later.
3.4 Remove Fasteners: Use the appropriate screwdriver or socket set to remove any screws or fasteners securing the ignition coil in place. Set these aside for reassembly.
3.5 Replace the Ignition Coil: Gently remove the faulty oil-filled ignition coil from the engine bay. Replace it with the new one, ensuring a proper fit.
3.6 Reassemble the Components: Secure the new ignition coil with the previously removed fasteners. Reconnect the electrical connectors to their appropriate positions.
Testing the Replacement
After completing the replacement process, it is crucial to test your new oil-filled ignition coil to ensure it is working correctly. Here's what you need to do:
4.1 Reconnect the Battery: If you had disconnected the vehicle's battery during the replacement process, reconnect it carefully.
4.2 Start the Engine: Turn the ignition key to start the engine. Pay close attention to its behavior and listen for any irregularities.
4.3 Monitor Engine Performance: Allow the engine to run for a few minutes and observe its performance. Check for any signs of misfiring or abnormal behavior.
Seeking Professional Assistance
While this step-by-step guide provides detailed instructions for replacing an oil-filled ignition coil, it's essential to understand that vehicle maintenance and repair can be complex. If you're unsure of your mechanical skills or encounter any difficulties during the process, it is advisable to seek professional assistance from a qualified mechanic.
Conclusion:
Regular maintenance and prompt replacement of faulty components such as the oil-filled ignition coil are vital to keep your vehicle running smoothly and efficiently. By following this step-by-step guide, you can confidently replace the faulty ignition coil in your vehicle, ensuring optimal engine performance and reliability. Remember to exercise caution, refer to your vehicle's manual when necessary, and seek professional help if needed.
Copyright © 2019 Haiyan aijian Co.Ltd. | All Rights Reserved
Hello, please leave your name and email here before chat online so that we won't miss your message and contact you smoothly.