 Español
  pусский
  Français
  Português
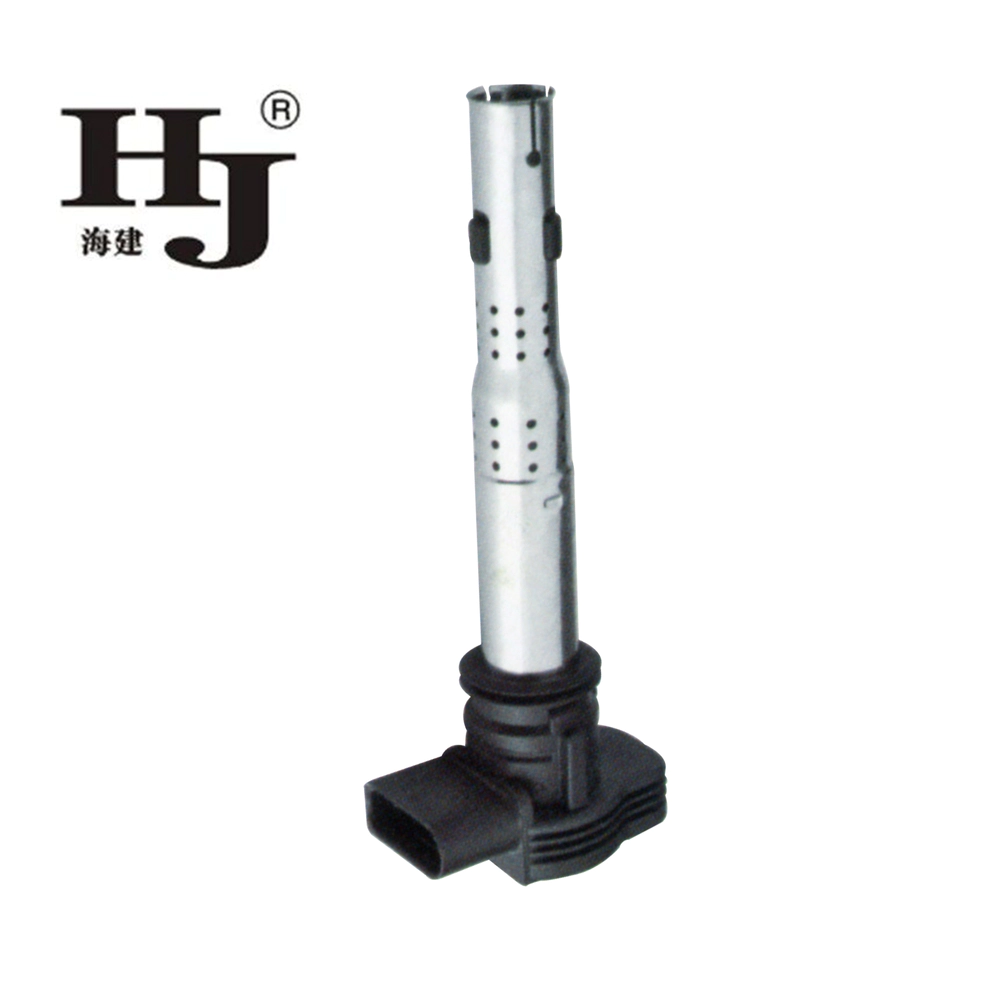

Better Touch Better Business
Contact Sales at Haiyan.
Car Coil Replacement: Step-by-Step Guide for Car Owners
Introduction:
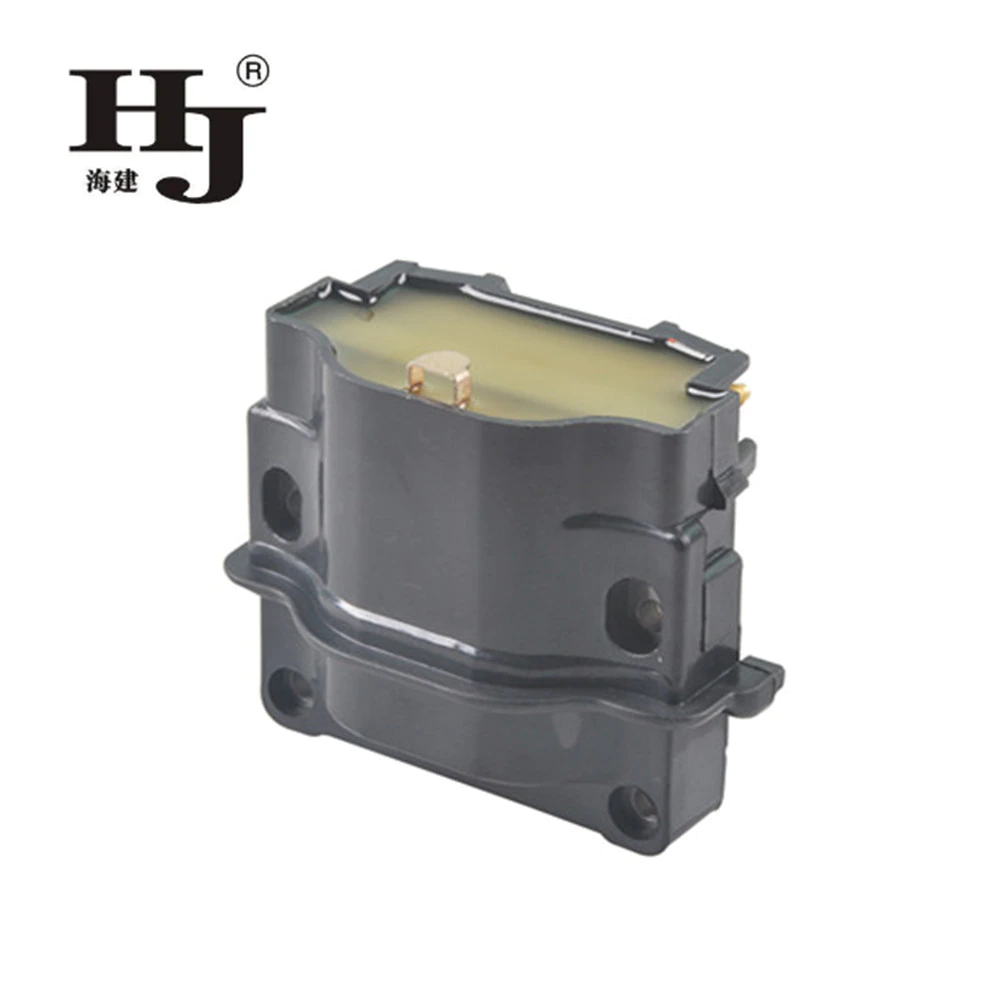
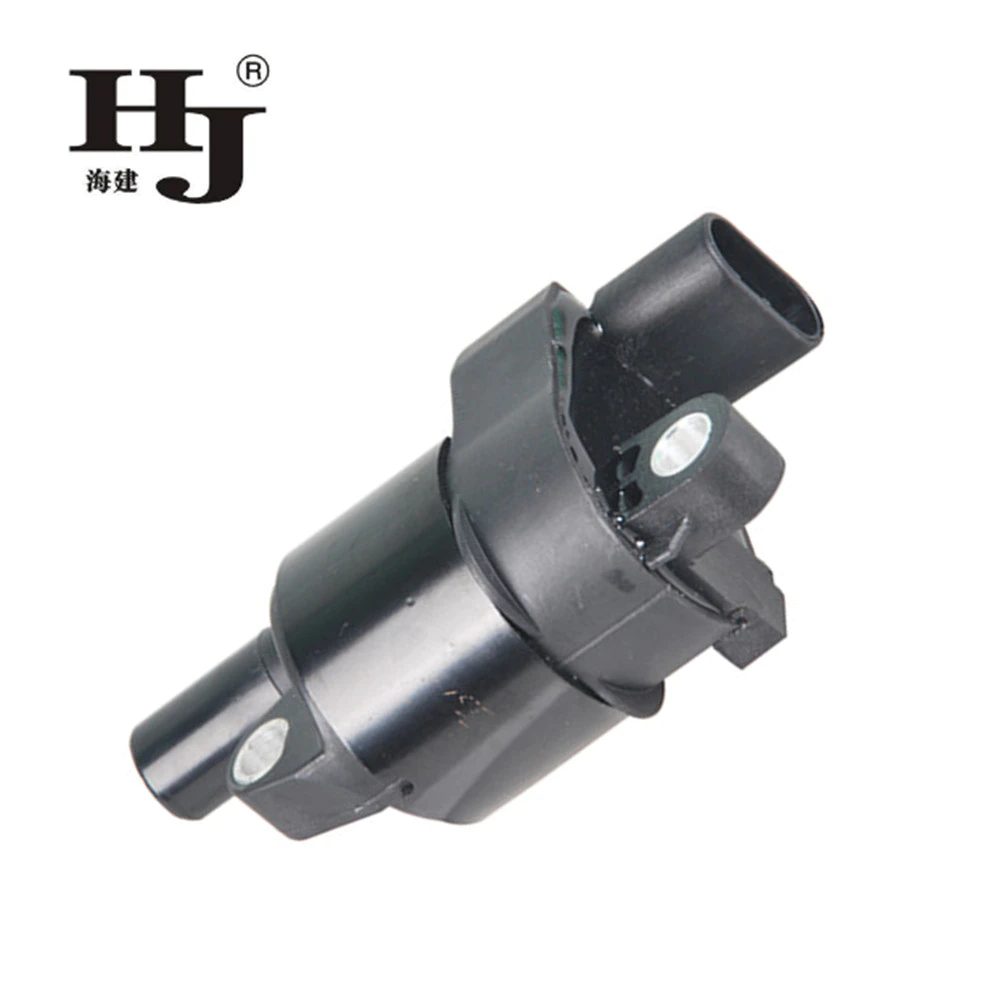
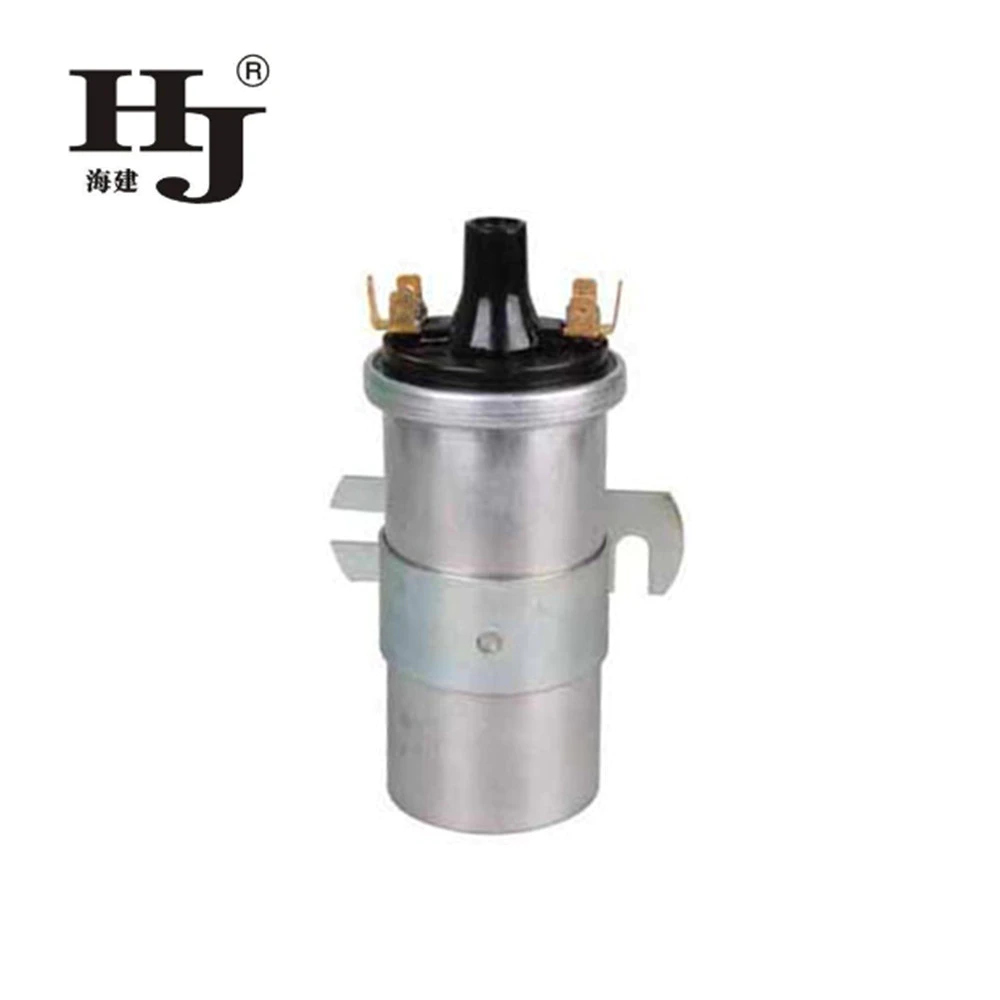
1. What is a Car Coil and Why it Needs Replacement?
A car coil, also known as an ignition coil, is a vital component in the ignition system of a car. Its main function is to convert the low voltage from the battery into the high voltage required to ignite the fuel-air mixture in the combustion chamber. Over time, due to wear and tear, the car coil may start to malfunction or fail completely, resulting in poor engine performance or even engine misfires. In such cases, it becomes necessary for car owners to replace the car coil.
Chapter 1: Signs of a Failing Car Coil
2. Identifying Common Symptoms of a Bad Car Coil
Before diving into the replacement process, it's important to be able to recognize the signs of a failing car coil. Some common symptoms include:
- Engine Misfires: If your car starts to shake or sputter during acceleration, it could be a sign of a faulty car coil.
- Rough Idle: A weak or faulty coil can cause the engine to idle roughly or stall when at a stop.
- Difficulty Starting: If your car has trouble starting or takes multiple tries to ignite, the car coil may be to blame.
- Decreased Fuel Efficiency: A failing coil can lead to incomplete combustion, resulting in decreased fuel efficiency.
- Check Engine Light: In many cases, a failing coil will trigger the check engine light on your car's dashboard.
Chapter 2: Tools and Materials Needed
3. Gathering the Required Tools and Materials
Before starting the replacement process, gather the necessary tools and materials to ensure a smooth procedure. Here's a list of what you'll need:
- New car coil: Make sure to purchase the correct replacement coil for your specific car make and model.
- Socket wrench set: A set of sockets in various sizes will be needed to remove the coil and associated parts.
- Screwdrivers: Flathead and Phillips-head screwdrivers may be required for coil removal depending on the design.
- Dielectric grease: Applying dielectric grease to the connections will prevent moisture and corrosion.
- Safety goggles and gloves: Protect your eyes and hands while working on the car coil.
- Shop manual: It's always helpful to have a shop manual specific to your car model for reference.
Chapter 3: Car Coil Replacement Procedure
4. Step-by-Step Guide to Replacing a Car Coil
Now that you have all the necessary tools and materials, follow these steps to replace your car coil:
Step 1: Ensure Safety Precautions
Before starting any work under the hood, make sure the engine is turned off and the key is removed from the ignition. This prevents accidental engine starts during the replacement process.
Step 2: Locate the Faulty Coil
Identify the location of the faulty car coil. It is usually found near the engine block, attached to the ignition module or spark plug wires.
Step 3: Disconnect the Battery
Remove the negative cable from the battery terminal to prevent electrical shocks during the replacement process.
Step 4: Remove Necessary Components
Depending on your car's make and model, you may need to remove surrounding components to access the car coil. This may include air ducts, engine covers, or other ignition system components.
Step 5: Disconnect and Remove the Old Coil
Carefully disconnect all wiring connections from the old coil. This may involve removing screws, nuts, or clips securing the coil. Once disconnected, gently lift out the old coil and set it aside.
Step 6: Install the New Car Coil
Take the new car coil and connect the wiring connections to their respective terminals. Ensure they are securely fastened. Then, position the new coil in place and reattach any screws, nuts, or clips to hold it firmly in position.
Chapter 4: Final Steps and Testing
5. Finalizing the Replacement Process and Verifying Success
After installing the new car coil, follow these final steps to complete the replacement process:
Step 7: Reassemble Necessary Components
If you removed any components to access the coil, make sure to reinstall them correctly. Ensure all screws, nuts, or clips are securely tightened.
Step 8: Reconnect the Battery
Reconnect the negative cable to the battery terminal, ensuring it is tightened securely.
Step 9: Test the Engine
Start the engine and observe for any remaining symptoms. If the engine runs smoothly without misfires or rough idle, the replacement was successful.
Conclusion:
Successfully replacing a car coil can greatly improve your car's engine performance and prevent potential issues from arising. By recognizing the signs of a failing coil, gathering the necessary tools and materials, and following the step-by-step guide provided, car owners can confidently navigate the car coil replacement process. Remember, if you're unsure of any steps or encounter difficulties, it's always best to consult a professional mechanic for assistance.
Copyright © 2019 Haiyan aijian Co.Ltd. | All Rights Reserved
Hello, please leave your name and email here before chat online so that we won't miss your message and contact you smoothly.